Instructions: Identifying an electrical component
To be able to follow these instructions, you will need either OMNIplus BusDoc with access to "Electric System" or you will need the "Vehicle specific documentation" for the bus. The "Vehicle specific documentation" can be downloaded from omniplus.com:
Ordering vehicle-specific documentation
After the file has been downloaded, it will need to be extracted. Instructions for this can also be found on omniplus.com:
Notes on download and installation
Step 1: FPS I/O table
- Open the FPS I/O table and search for the fault code shown on the vehicle display screen (for an example, see area marked in green):
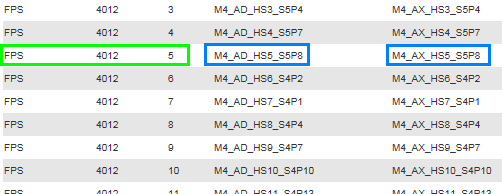
Fig. 1
Step 2:
- Open the "
Vehicle specific documentation" for the bus:
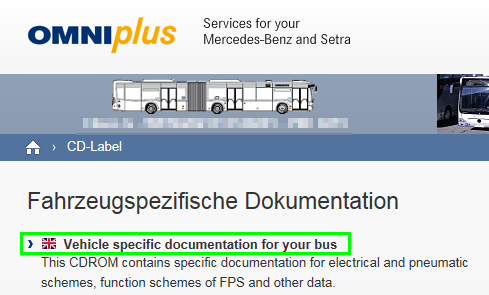
Fig. 2
Step 3:
- Open the "
Assignment list" tab. - On the "
Hardware inputs and outputs" tab, search for the designation of the input or output (see identifier marked in blue in Fig. 1). - Open the associated information text (in the example, the part number marked in green):
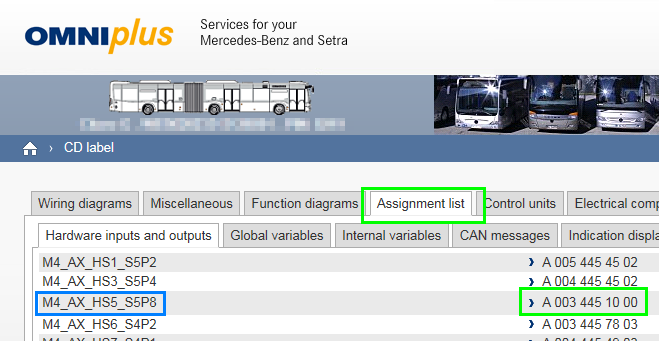
Fig. 3
Step 4:
- Open the function chart:
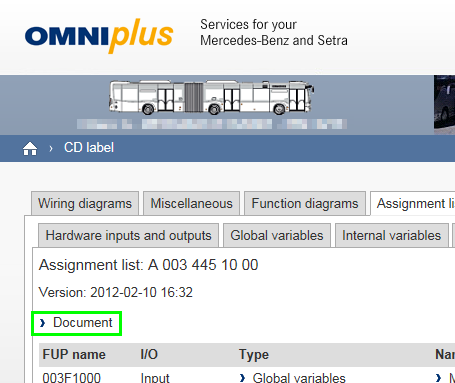
Fig. 4
Step 5:
- In the function chart, search for the identifier (on the left- or right-hand side of the logic circuit; in this example, on the right).
- The identifier is accompanied by the short designation of the component (green marking in illustration).
- The red marking shows the line number on the FPS:
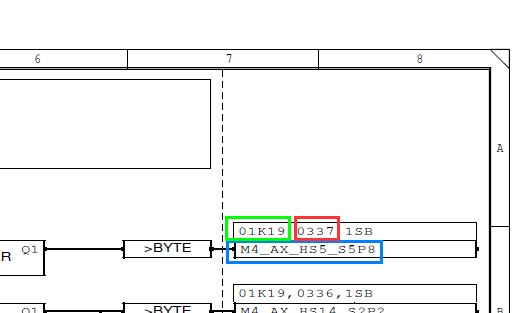
Fig. 5
Step 6: Electrical components key
- Open the
"Electrical Components" keyand find the long designation of the component.